Showing posts with label Tutorial. Show all posts

Monday, September 17, 2012

Wedding Preparation: Groomsmen bow tie


 On my actual wedding day,
 the morning session theme is rainbow colour.
All my bridesmaid will be wearing rainbow colour dress 
and of course we can't left out the groomsmen!
The groomsmen must have something to match the bridesmaid.
So I decided to handmade a rain'bow tie' !!

You need: 
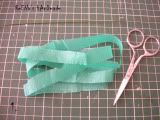
rainbow colour fabric (I used non-woven fabric), 
needle, thread,scissors,ruler, pencil, elastic braid and pression button.

Here's the step-by-step tutorial


Hope the groomsmen like it!!!lol

Sunday, September 9, 2012

Wedding Preparation: Jar Lantern


Ever wonder what to do with all those empty glass jars?
The ones from spaghetti sauce, jam and mayonnaise?
Actually you just need a little bit of effort, it can turnout to be a cute jar lantern.


Here’s what you’ll need:


 Remember to apply some diluted white glue around the 
glass surface so that it secure the lace on it.

It can also be a lovely vase.

Don’t they look great?! 
I'll be using these glass jar as my wedding reception centerpieces.
These will definitely add great ambiance to my wedding dinner party.^^

Saturday, December 31, 2011

Coasters

Here is a simple tutorial of how to turn your leftover wallpaper into lovely little coasters.

Materials needed

Leftover wallpaper
White mural colour
Decoupage glue or craft glue to dilute with water at a 1:1 ratio.
Cardboard or thin cork board
Paper cutter
Waterproof acrylic sealer in a spray or paint can
 
Cut your cardboard into round with diameter about 9cm.

 
Paint a layer of mural colour.


Cut your wallpaper into square bigger than your cardboard.


Brush the cardboard with diluted craft glue.
Center your paper on the cardboard. Press the paper to the cardboard firmly,
beginning in the middle and working your way outwards, eliminating air bubbles.
Pay extra attention to the edges.These must adhere well, otherwise the paper will peel.
Allow this layer to dry, 10 to 15 minutes.


Apply a layer of carft glue to the top of the paper.
Allow this layer to dry 15 to 20 minutes.
Continue adding layers of craft glue until you are satisfied with the look. I used three.


Then repeat the process of sealing with waterproof acrylic sealer.
Wait until your coasters are thoroughly dry before applying another layer of sealer.I applied two layers.


Is done!


Friday, October 9, 2009

Kitchenware


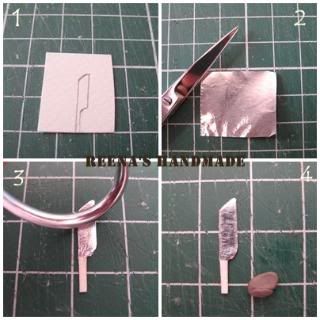
很久都没有新的教程和大家分享了。这次要做的是厨房用具:
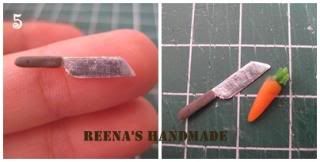
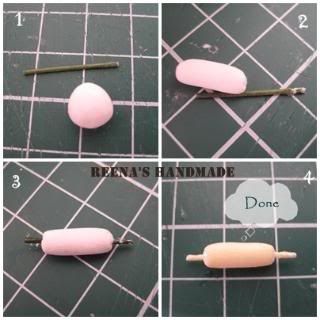
刀和杆面棒(rolling pin)。
1. 先在卡片上画出刀的形状
2. 再用铝箔纸(aluminium foil)把刀峰包起来。
3. 把刀的表面抹平。
4. 用深巧克力色的树脂粘土把握耙包上。


5. 完成了!!


接着要做的是杆面棒

1. 先准备一支较粗的铁线和轻粘土。
2. 把粘土揉成长条形。
3. 把铁线穿过粘土。
4. 再涂上颜色就完成啦~~


Sunday, December 28, 2008

Christmas Decoration

这次放了一些简单的圣诞娃娃屋教程和大家分享。原本是想圣诞前放上来的,可是前几天去了旅行没时间放上来所以就迟了。

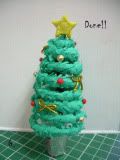
~~圣诞树~~

圣诞节想必少不了盛装打扮的圣诞树啰。

PhotobucketPhotobucketPhotobucket

PhotobucketPhotobucketPhotobucket

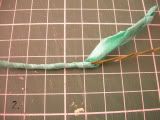
1。把青色的crepe paper剪成长条状。

2。先在铁丝上卷上crepe paper

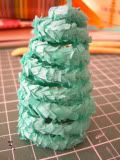
3。把crepe paper 剪成细条状再卷在铁丝上。

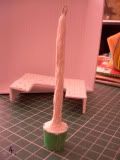
4。树枝的做法是先用纸粘土捏成长条形,里面用铁丝支撑着。用牙膏盖做花盆。

树枝的顶部做了一个小圈,是用来勾着圣诞树的。

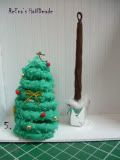
5。挂上装饰的圣诞树在挂在小圈圈里。

6。圣诞树的顶部放上一颗星星,这样就完成啦,


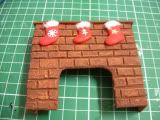
~火炉~

PhotobucketPhotobucket

PhotobucketPhotobucket

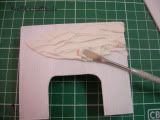
1。先把instant filler (补墙壁裂缝用的)涂在硬纸皮表面。

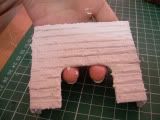
2。趁instantfiller 还没干,用工具画上砖块的条纹。

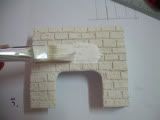
3。干后涂上一成白色的mural colour。

4。涂上水彩就完成了